
Nokomis Attic Reveal
- Mar 19, 2021
- 2 min read

This attic renovation had two main goals that would need creative problem solving to accomplish;
- Adding a Master Suite
- Adding a Nursery
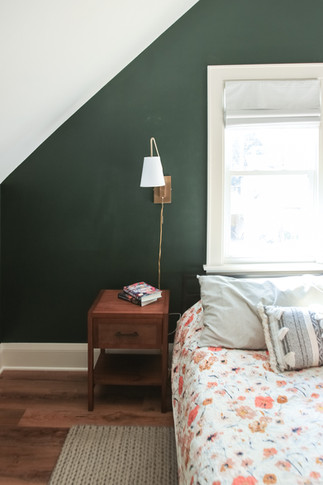
The master suite was a puzzle as the homeowners wanted a master bath with shower, walk-in closet, and a spacious bedroom. We didn't want a walk-in closet to take away space from the bedroom, and if we used the common area for a closet, it would leave a much smaller hallway and very narrow closet. We compromised with a walk-through wardrobe, and built in added closet space in a corner of the room.
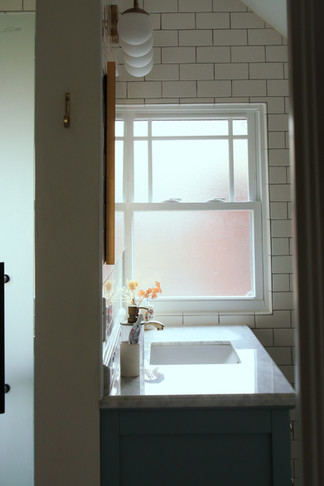
We only had one true option for the bathroom layout due to the pitch of the roof and need for a shower. We split the bathroom in half to share the wall where you would stand in the shower and stand to brush your teeth over the vanity. The toilet was kept on the knee wall since head space requirement was minimal.
The nursery needed extra space for crib, a future kid-sized bed and plenty of play space. So we built drawer space into the knee wall and built in a closet concealed by a simple curtain. We were concerned that setting the built-ins in the knee wall would be problematic because it is "cold space", meaning not insulated on the roof side but only on the warm sides such as floor and interior walls. We didn't want the clothes stored in the drawers to be super cold all winter long. Our solution was to build walls that were insulated and sheet rocked first and then we tucked the built-ins into those climate controlled cubbies.
One of our biggest debates was whether to keep the original tongue and groove, pine plank floors and refinish them with Rubio Monocoat or some other similar product, or cover them with LVP. Keeping the existing attic floors in all of their aged glory would have been absolutely breathtakingly gorgeous! But it would also leave the downstairs vulnerable to water spills and noise transfer as these existing floors were never meant for a finished space and were therefore only one layer thick with lots of cracks and creaks and week spots. In the end, we decided to screw down the existing floors to make them more solid and create less sounds when walked across and then add the ever popular and completely water proof, LVP!
The first few pictures below are before and after comparisons, then you can click below to see the remaining pictures for a closer look.


Comments